← Back
Smart Water Manager
2026 JanIOT
Project Story & Details
𝗦𝗼𝗹𝘃𝗶𝗻𝗴 𝗹𝗼𝗰𝗮𝗹 𝗶𝗻𝗳𝗿𝗮𝘀𝘁𝗿𝘂𝗰𝘁𝘂𝗿𝗲 𝗰𝗵𝗮𝗹𝗹𝗲𝗻𝗴𝗲𝘀 𝘄𝗶𝘁𝗵 𝗗𝗜𝗬 𝗲𝗻𝗴𝗶𝗻𝗲𝗲𝗿𝗶𝗻𝗴.
I recently designed and built a complete IoT water management system to automate our home water storage, combining software, electronics, and mechanical design.
𝗧𝗵𝗲 𝗣𝗿𝗼𝗯𝗹𝗲𝗺
Like many areas in Sri Lanka, our NWSDB water supply lacks sufficient pressure during the day. Water only reaches our overhead tanks between 10 PM and 4 AM. Waking up in the middle of the night to manage valves was not sustainable, so I needed an automated solution.
𝗧𝗵𝗲 𝗣𝗹𝘂𝗺𝗯𝗶𝗻𝗴 𝗖𝗼𝗻𝘀𝘁𝗿𝗮𝗶𝗻𝘁
The physical setup consists of two tanks fed by a single line, where Tank 1 overflows directly into Tank 2. Because of this serial setup, standard mechanical float valves could not be used without completely ripping out and reorganizing the existing plumbing network. An electronic sensing system was a good way forward.
𝗧𝗵𝗲 𝗦𝗼𝗹𝗲𝗻𝗼𝗶𝗱 𝗖𝗵𝗮𝗹𝗹𝗲𝗻𝗴𝗲 & 𝗖𝘂𝘀𝘁𝗼𝗺 𝗦𝗼𝗹𝘂𝘁𝗶𝗼𝗻
My initial plan was to use standard solenoid valves. However, keeping a solenoid energized and open for hours draws too much continuous power and risks thermal failure.
Instead, I built my own motorized valve controller. I used an MG995 full-metal gear servo motor to mechanically actuate a standard PVC ball valve. To marry the servo to the valve, I had a custom mechanical holder 3D printed by hashtag#XYDDER3D.
This approach was incredibly cost-effective compared to industrial motorized valves. The custom valve unit breakdown:
• 3D Print: Rs. 1800
• PVC Valve: Rs. 1000
• Servo Motor: Rs. 1500
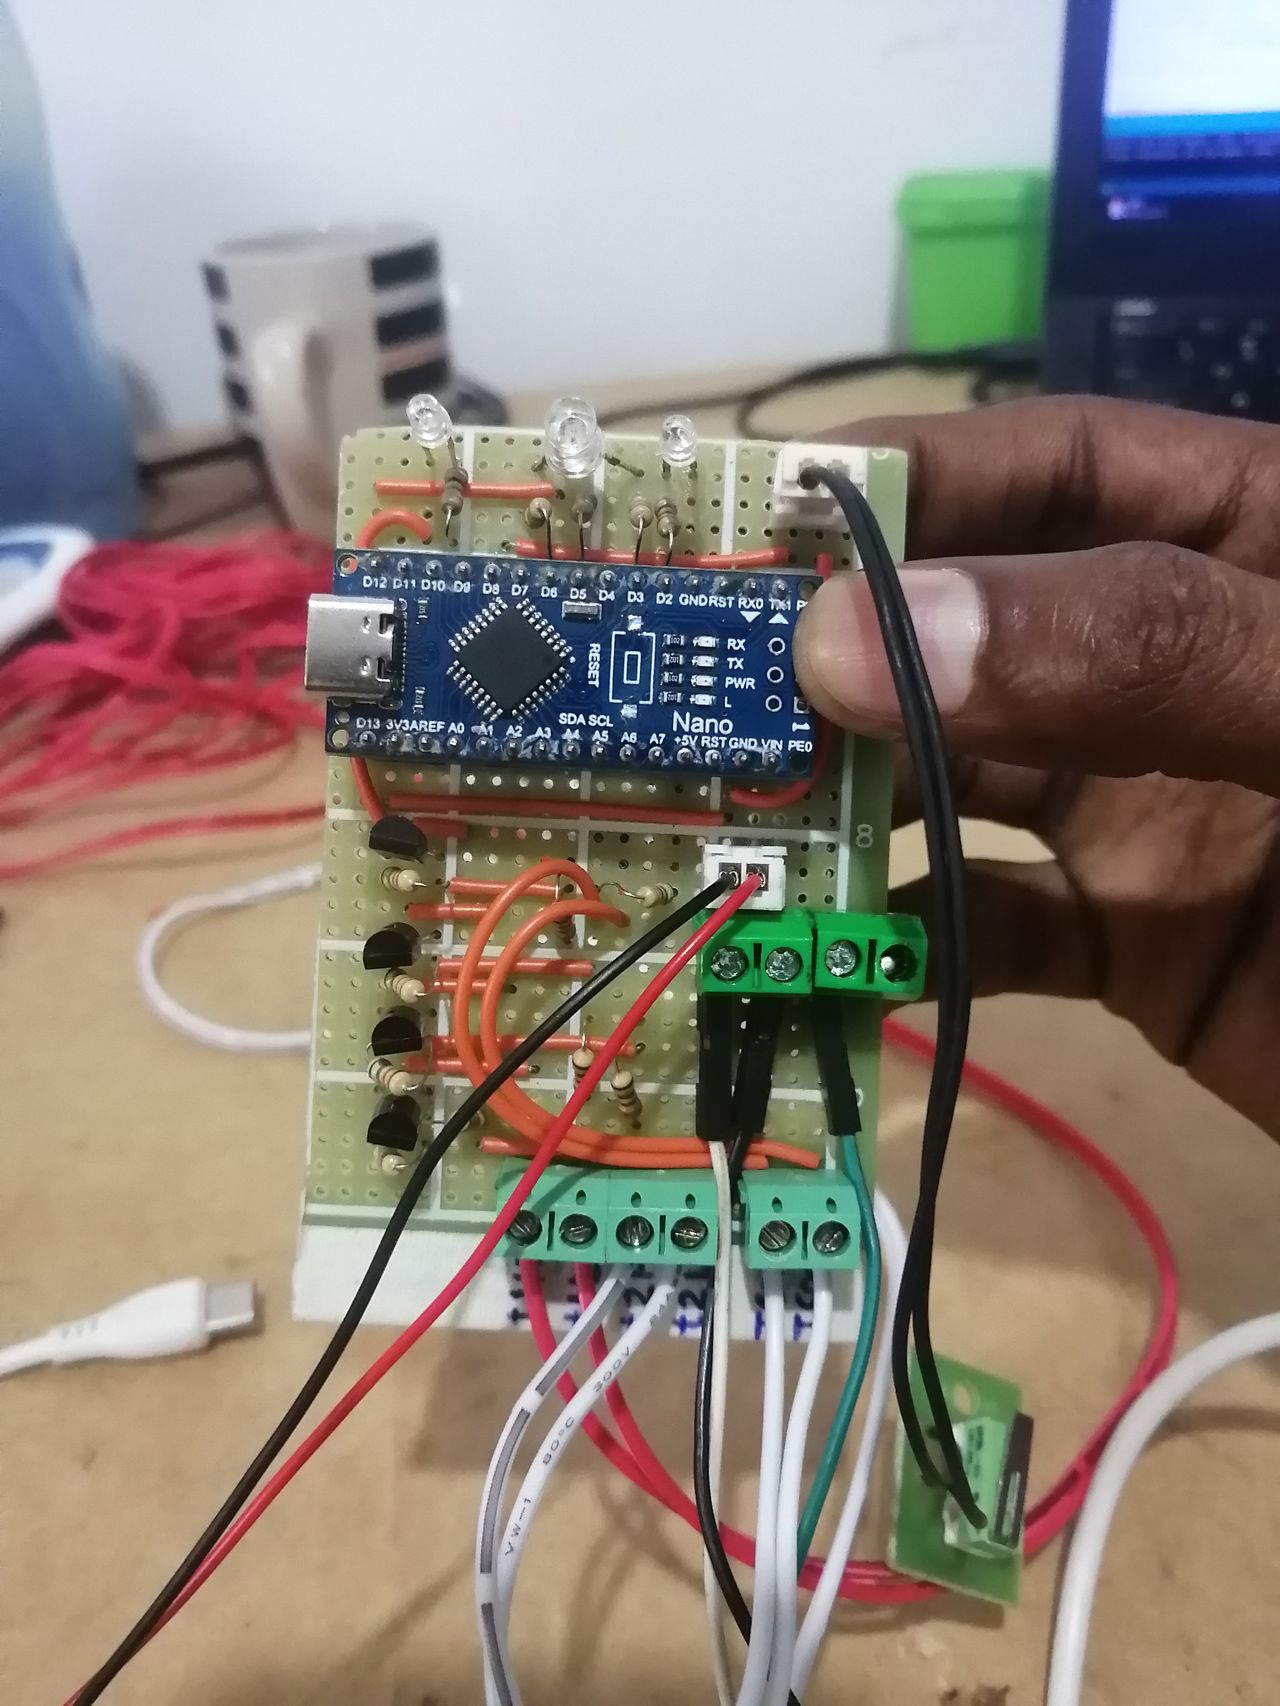
𝗧𝗵𝗲 𝗘𝗹𝗲𝗰𝘁𝗿𝗼𝗻𝗶𝗰𝘀 & 𝗟𝗼𝗴𝗶𝗰
The brain of the system is an Arduino Nano. To handle the high amperage spikes drawn by the servo motor when turning a stiff valve, I integrated a step-down buck converter into the power supply.
For the water detection, I designed a robust sensing circuit using NPN transistors. When water touches the sensor probes, the transistors switch on, sending a signal to the Arduino. I also programmed a multi-check software debounce to ensure electrical noise wouldn't trigger false readings.
To keep the final hardware clean, I mapped out the entire Vero board layout digitally before soldering. I highly recommend the open-source DIY Layout Creator tool for anyone planning custom perfboard circuits (https://lnkd.in/gCyb_pVz).
This project was a fantastic practical exercise in cross-disciplinary engineering, proving that with a bit of code, 3D printing, and basic electronics, you can build highly robust systems to overcome daily constraints.😉 hashtag#DIY hashtag#bydushan hashtag#electronic hashtag#IOT hashtag#Arduino hashtag#xydder3d hashtag#coding #